

I spent three years watching clients make the same mistake with dermal piercings — getting them on impulse without understanding what they’re actually signing up for. The consultation that changed everything was with Sarah, who walked in wanting a cute chest dermal she’d seen on Instagram. Twenty minutes later, she left empty-handed because I’d explained the reality: these aren’t regular piercings you can simply remove when you’re bored.
Most people think dermal piercings are just another type of surface piercing. They’re actually implants that anchor beneath your skin, requiring surgical removal by a professional. I’ve seen too many people treat them like temporary accessories, only to face scarring or infection when they try DIY removal. The good news? When done right and cared for properly, dermals can be one of the most versatile and striking body modifications you can get.
Styling Tips for Dermal Piercings
• Choose placement strategically — avoid joints like wrists, ankles, and knuckles where movement causes constant irritation and increases rejection risk. I’ve removed more hand dermals than any other placement for this exact reason.
• Consider your lifestyle first — if you work with your hands, sleep on your side, or wear fitted clothing regularly, chest and back placements will heal better than exposed areas that get bumped constantly.
• Start with a single dermal before committing to multiple pieces. I always recommend one first to see how your skin responds and whether you like the maintenance routine.
• Match jewelry to your existing pieces — dermal tops come in various materials and styles. Choose metals that complement your everyday jewelry rather than creating a clash.
• Plan around your wardrobe — neckline dermals look amazing with strapless tops but can snag on crew necks. Think about what you actually wear daily, not just special occasions.
• Size the jewelry appropriately — bigger isn’t always better. Oversized tops catch on everything and increase rejection risk, while too-small pieces can look lost on your body.
• Allow for swelling during healing — your piercer should use slightly larger initial jewelry to accommodate swelling. Switching to your preferred size happens after full healing, not before.
Dos & Don’ts
What Is A Dermal Piercing?
A dermal piercing, or micro dermal, is a single bar anchored beneath the skin via a figure of eightbarsr and a punch. They are considered implants as they have a single-point puncture rather than a surface piercing which has an entrance and exit. The stem, which can be seen outside the skin, is threaded allowing fora change of screw jewelry. Dermals can be placed almost anywhere on the body. Avoid areas where there are joints such as ankles, feet, wrists,and hands as they can be prone to being caught and can be uncomfortable if on a joint.
Have a look at this video clip of a wrist dermal being done.

Surface Piercings – Everything You need to Know About It
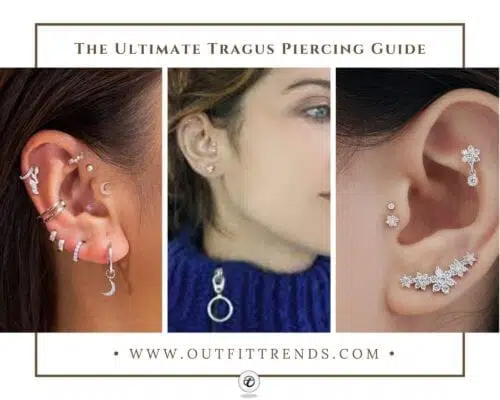
Tragus Piercing Guide – Everything You need to Know
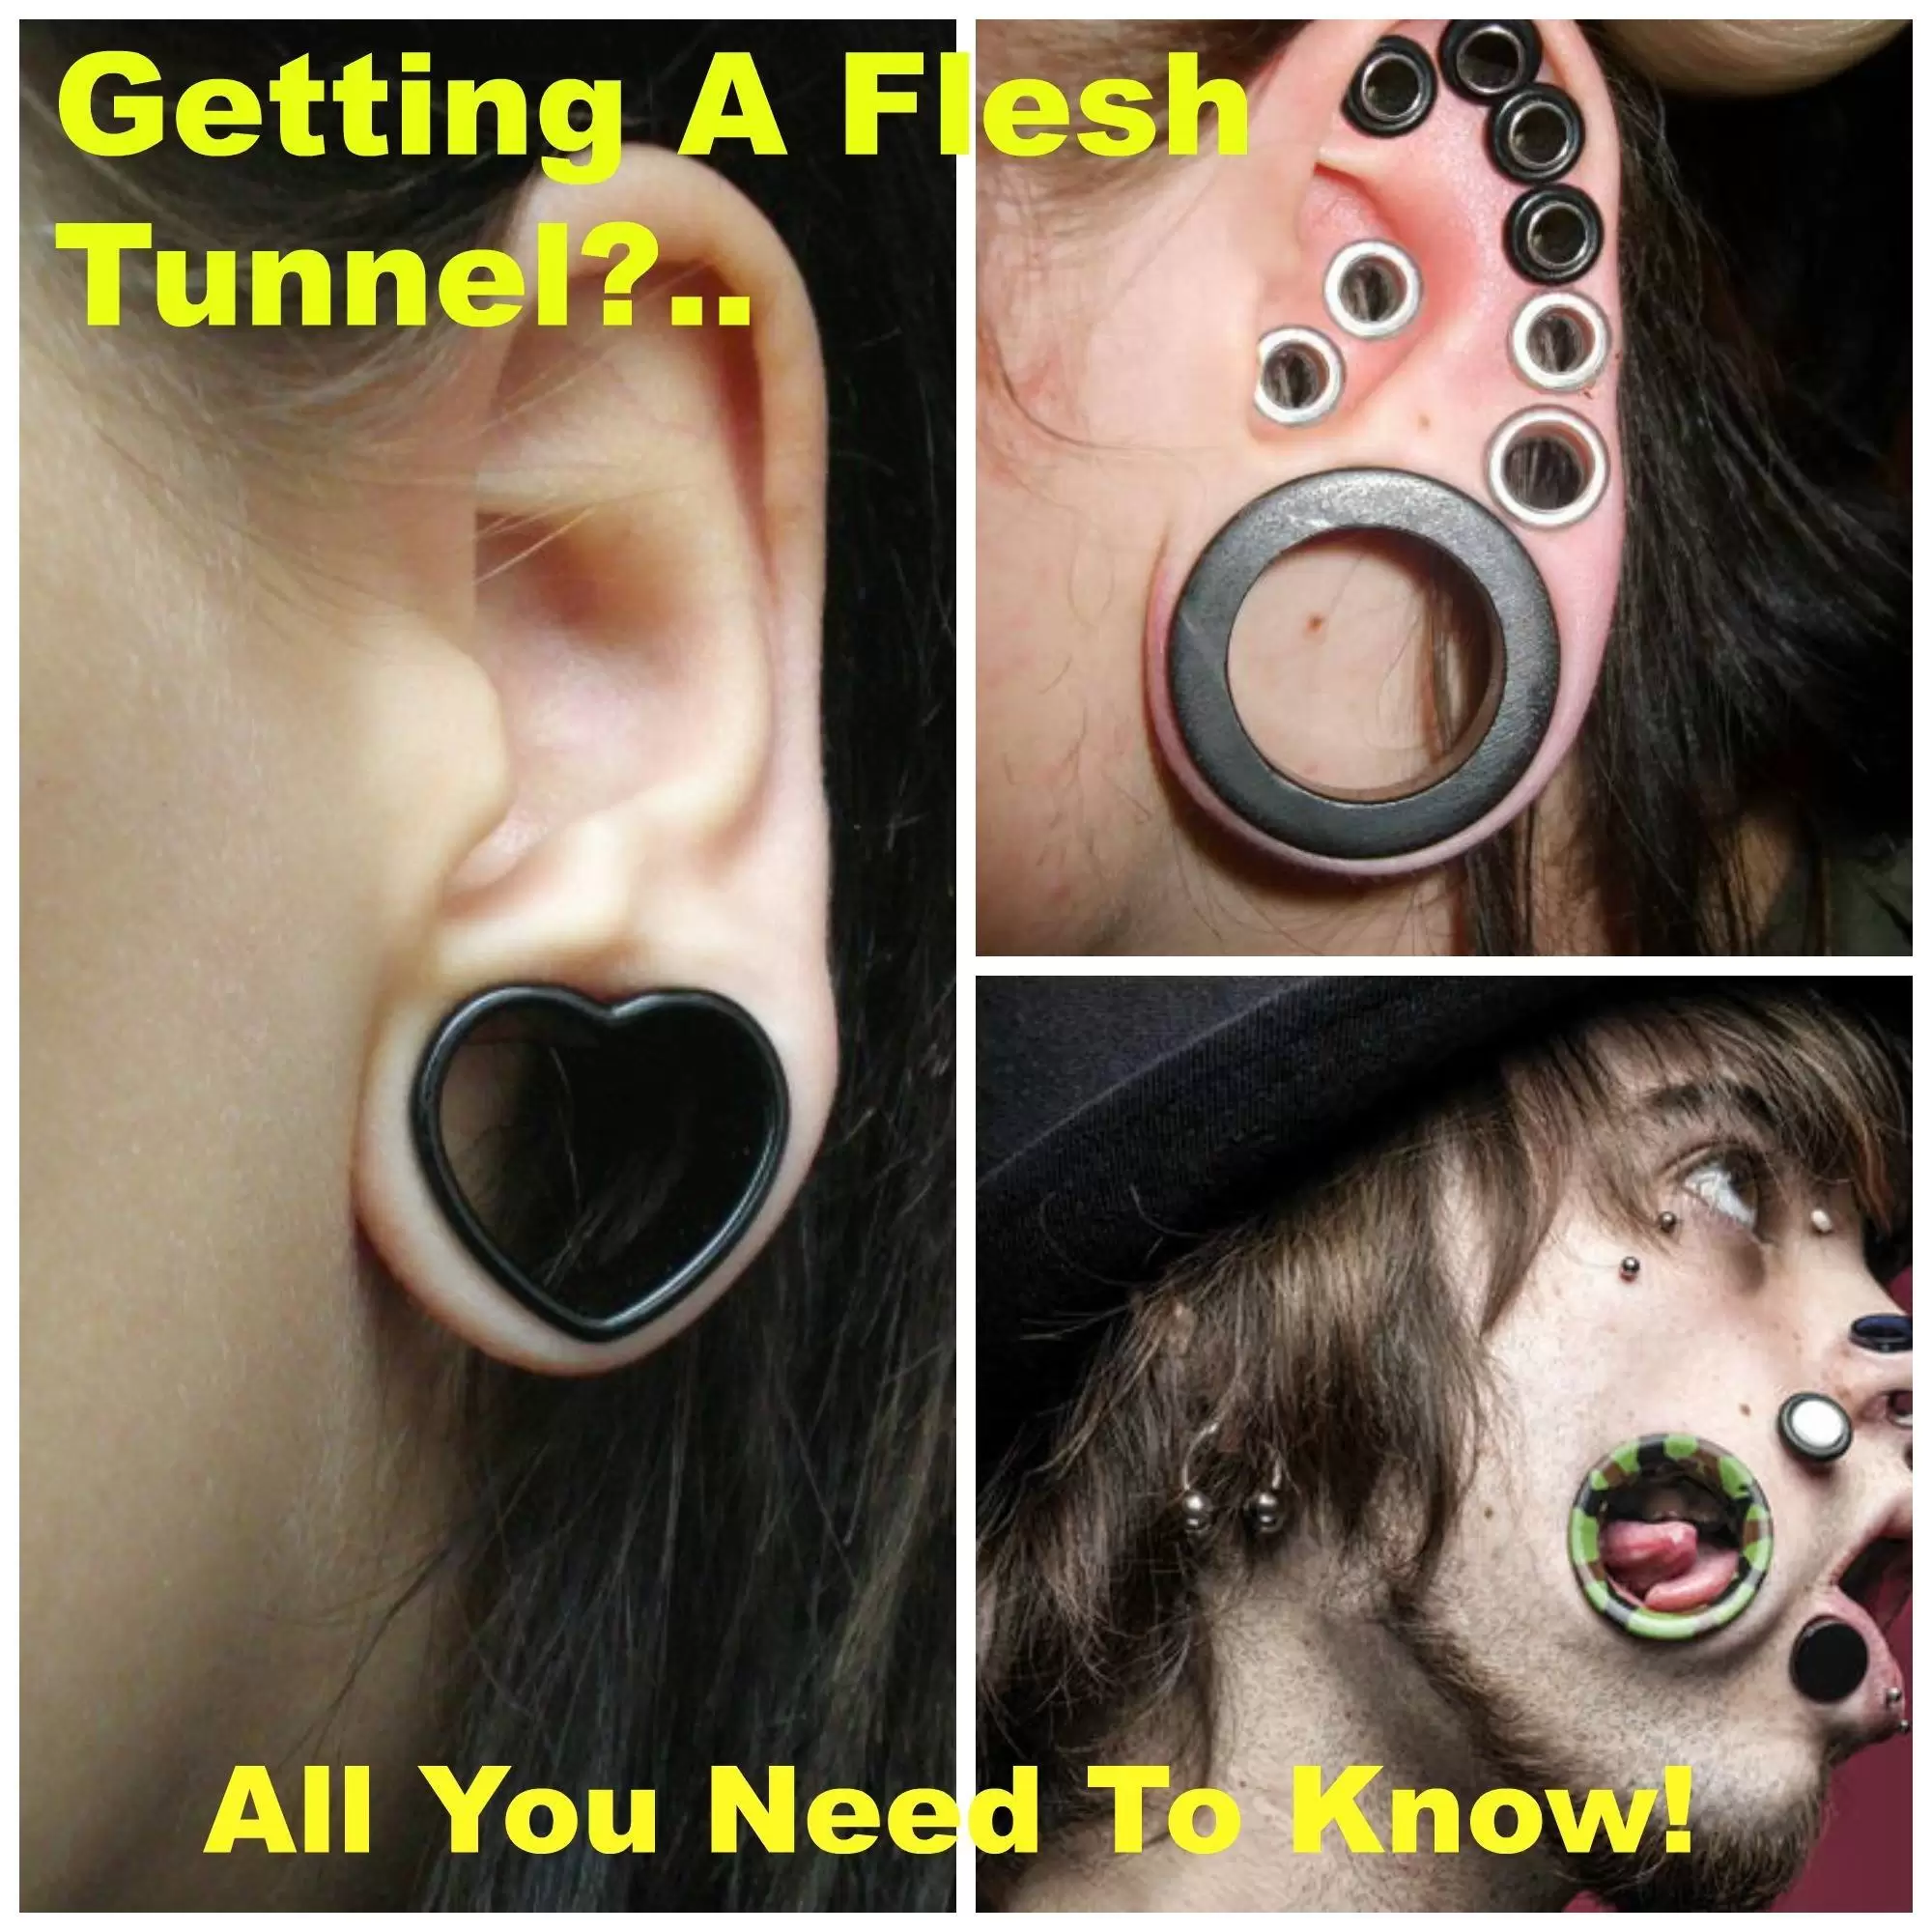
Getting A Flesh Tunnel – All You Need To Know
Cartilage Piercings Guide – Every Thing You Need to Know About it

20 Amazing Feather Earrings Ideas with Styling Tips

Swag Accessories – 5 Accessories You Need For A Swag Look
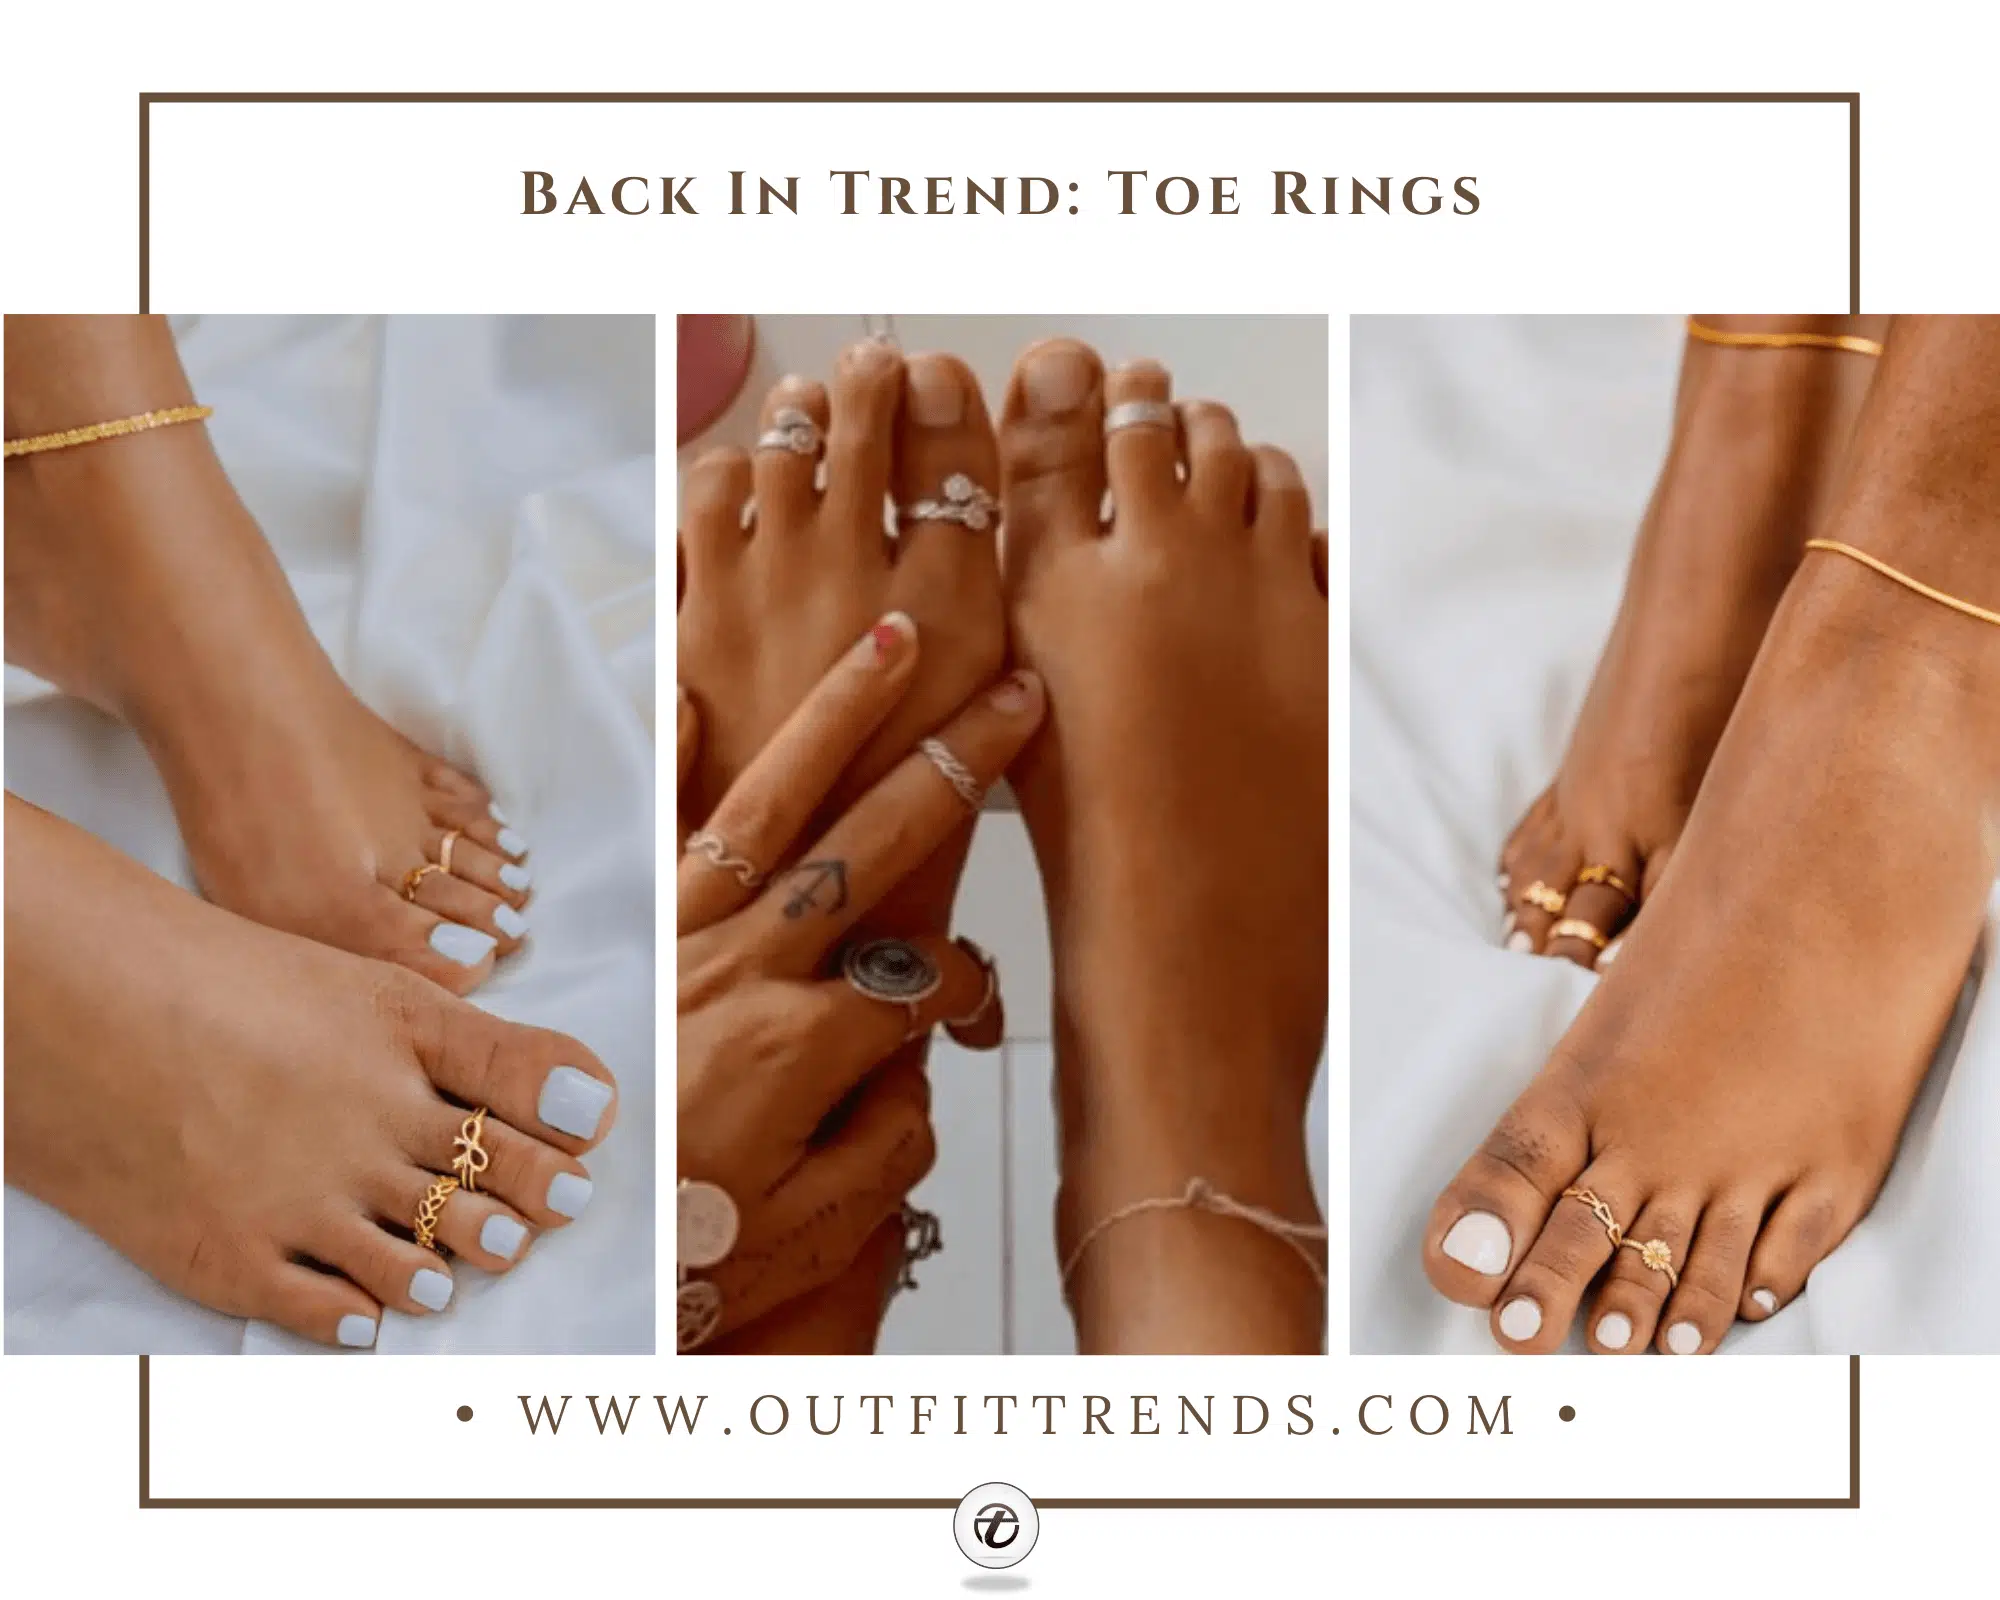
10 Best Toe Ring Styles & Ideas On How to Wear Toe Rings

30 Most Creative and Unique Shoes In the World
Quick tip
Watch the entire piercing process before deciding. Seeing the dermal punch and anchor insertion helps you understand what you’re committing to.
Also, check out surface piercing-everything you need to know about it
What Is The Cost?
A typical dermal implant will set you back around $35-$40. This is for a single-point bar. Depending on where you go and how manydealss you want prices will vary. More prestigious salons will charge more however you pay for quality and when it comes to piercings you should want quality!
Professional removal of a dermal piercing costs $50-$100 per anchor and requires a minor surgical procedure, making the total investment much higher than the initial piercing cost.
What Is The Healing Time?
Usually, piercers will say the healing time for dermals is 3 months. This depends on how well and how quickly your skin heals as everyone is different. Even after a 3 month period, I would keep cleaning your new dermal and refrain from catching it on anything. More often than not I have seenpeople’ss dermals pulled out or just fallen out because of ill care.
Quick tip
Expect 6-12 months for complete healing even though surface healing appears done at 3 months. The anchor needs time to fully integrate with surrounding tissue.
What Are The Pros and Cons?
Wel,l the mainreasono is you end up with a very cute little addition involving a small jewel or stud. Dermals are the type of piercing thatsuitst pretty much everyone so it is rare you see a horrible one. One con to dermal implants is that to have them removed you have to seek out a professional who can surgically remove them. They CANNOT just be ‘dug’ out of the skin. Removing them either yourself or by someone who is not trained to do so will end up in nasty scarring or infection.
Have a look at some of the cute dermal piercings below and why not gain some ideas to have your own done? Some celebrities also have dermal piercings and these are also shown below.
10 Great Ideas For Dermal Piercings
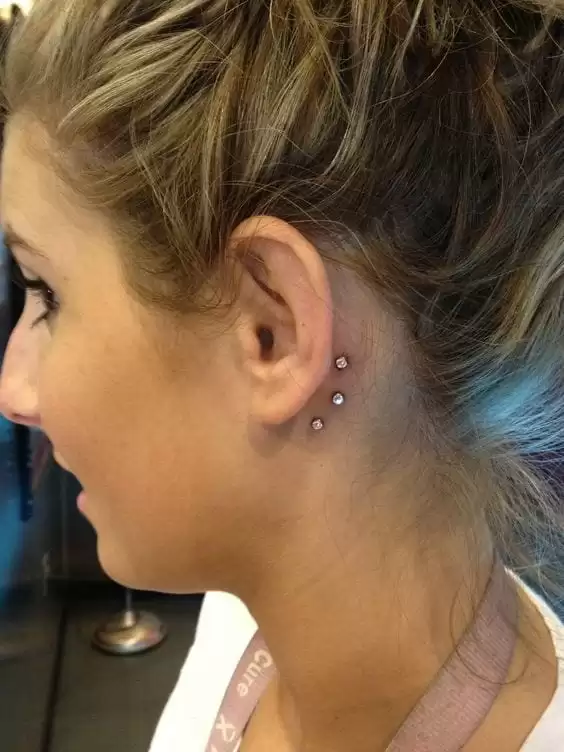
Triple dermal implants are placed behind the back of the ear. Great for a subtle and cute look.
Quick tip
Start with one dermal per area before adding multiples. This lets you test healing time and maintenance requirements without overcommitting.
For some more interesting facts and ideas, check out the Cartilage piercing guide-every thing you need to know about it
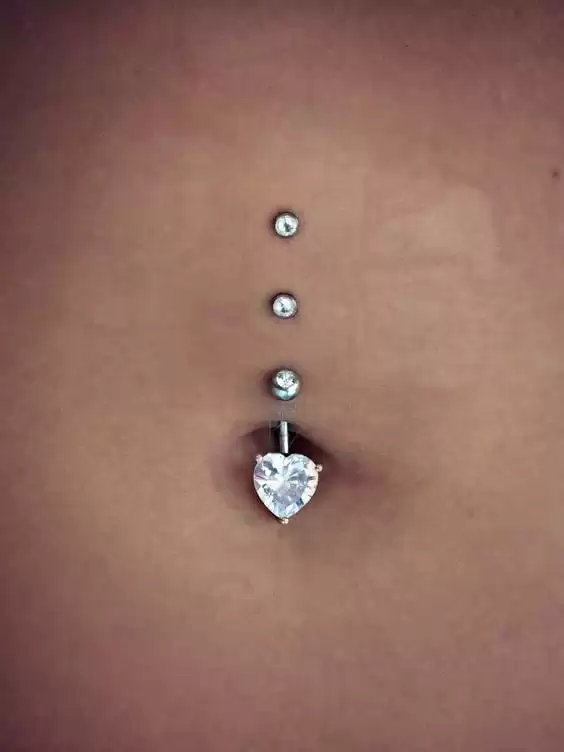
Two dermal piercings above a belly button piercingsmakes for an effective look.
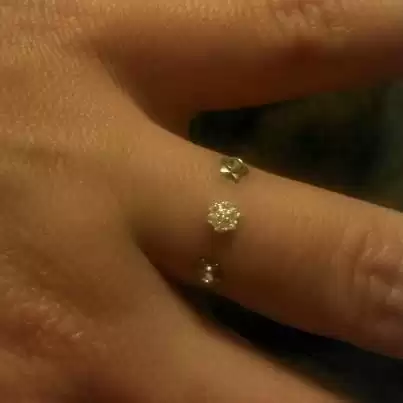
Three little star microdermals at the base of a finger. Very cute and effective style.
Quick tip
Avoid finger and hand placements if you’re active with your hands. These areas have the highest rejection rates due to constant movement and contact.
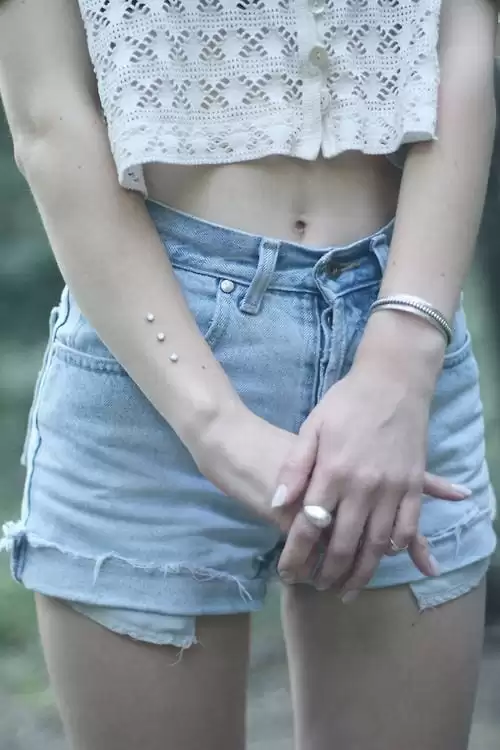
Three dermal implants up the arm from the wrist. A cute look with a matching bracelet on the opposite side. Try not to put bracelets on the same wrist as they will catch.
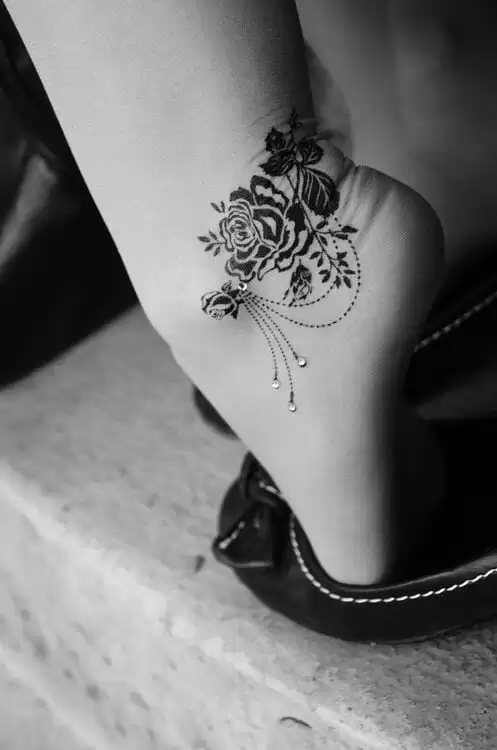
A gorgeous way of incorporating dermals with tattoos. Adding a look of jeweled beads this tattoo and the dermal combination looks beautiful.
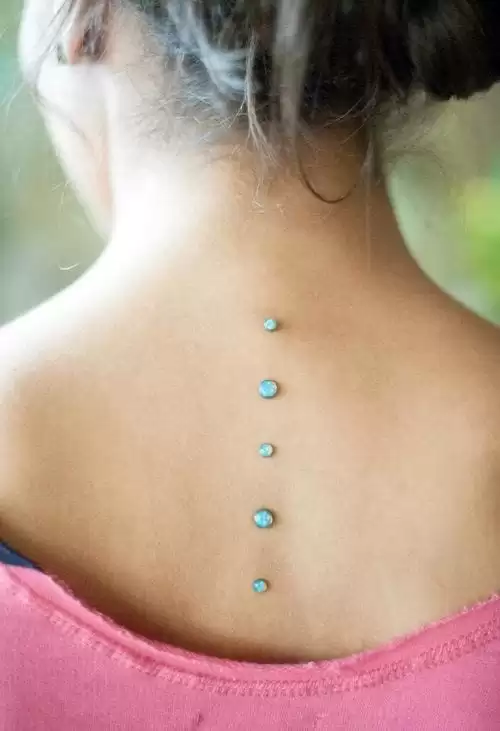
Five turquoise dermal piercings down the nape. Different sizes make for a bit of shape and is a great look for summer with open back tops.
Don’t forget to have a look at[highlight] Getting a tattoo tebori irezumi style-All you need to know[/highlight]
Quick tip
Plan dermal placement around existing tattoos carefully. The piercer needs clear, untattooed skin for proper anchor placement and healing.
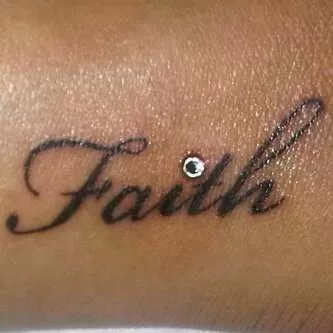
Tattooed words with a simple dermal look amazing and is very effective.
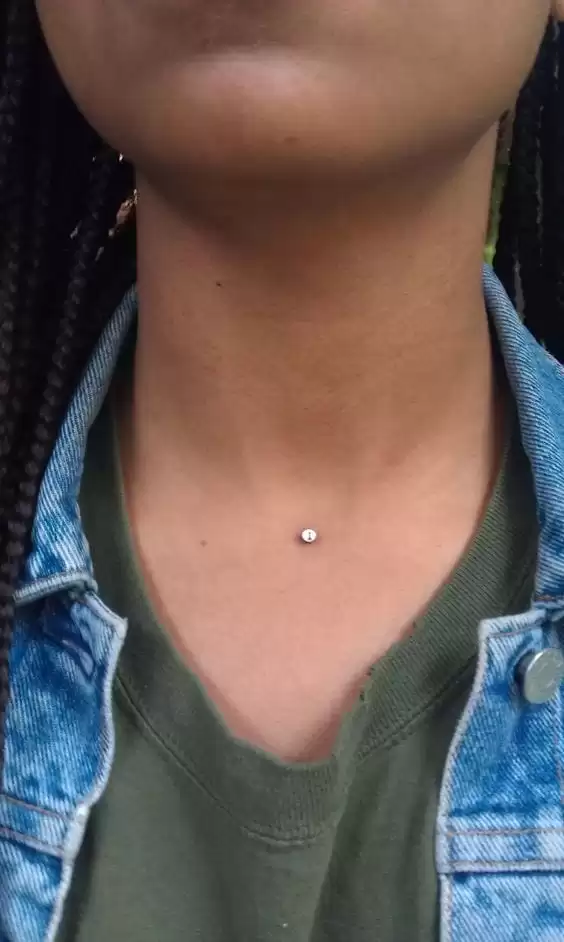
A single dermal between the collarbones is a popular dermal piercing to have but is very cute to look at. Be careful not to catch it on necklaces though.
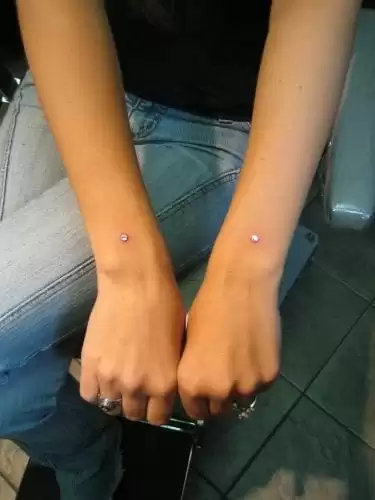
Single wrist dermal implants. A simple and great look all year round. These look great with a matching pendant necklace and earrings.
Facial dermals next to the eye are a common one too. They look great if done properly and are the right size for the face.

Key takeaways
- Dermal piercings are permanent implants requiring professional surgical removal, not temporary accessories you can remove at home
- Avoid placement on joints and high-movement areas to prevent rejection and migration during the lengthy healing process
- Quality matters more than price — choose experienced piercers and titanium jewelry to minimize complications and infection risk
- Plan for 6-12 months of careful maintenance, not just the initial 3-month healing period most piercers mention
- Consider your lifestyle and wardrobe carefully before placement — daily activities and clothing choices significantly impact healing success
- Start with a single dermal to test your body’s response before committing to multiple piercings or complex arrangements
Surface Piercings – Everything You need to Know About It
Tragus Piercing Guide – Everything You need to Know
Getting A Flesh Tunnel – All You Need To Know
Cartilage Piercings Guide – Every Thing You Need to Know About it
20 Amazing Feather Earrings Ideas with Styling Tips
Swag Accessories – 5 Accessories You Need For A Swag Look
10 Best Toe Ring Styles & Ideas On How to Wear Toe Rings
30 Most Creative and Unique Shoes In the World


