

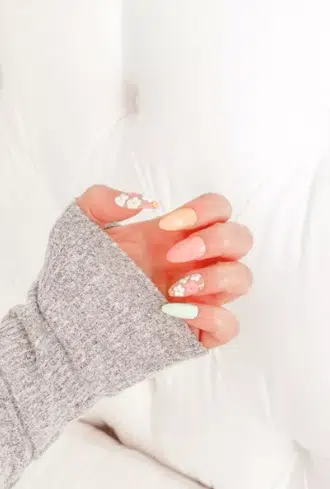
Floral nail designs are the talk of the town. Many ladies, including leading celebs, opt for cute and lovely flower nail art designs. These designs become even more popular during the spring and summer seasons. Flower designs never get out of style and create such a positive vibe.
Before exploring these designs, check out our related guides: summer nail art ideas (for seasonal florals), pink nail designs (for floral colour palettes), and abstract nail art for a modern twist on floral motifs.
21. French Tips With Floral Pattern
Floral French tips look great and aesthetically pleasing — perfect for spring. For more French tip inspiration beyond florals, see ombre nail ideas which includes gradient French tip variations.
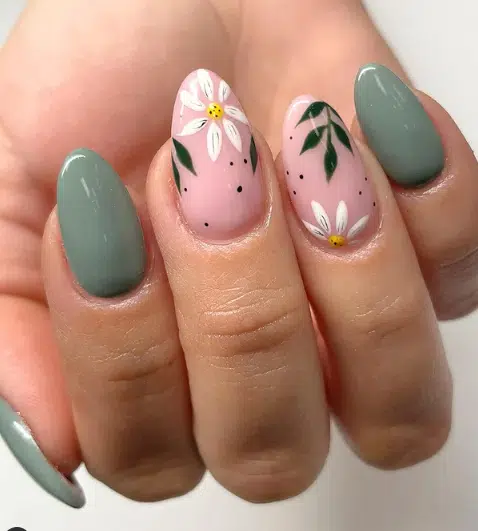
14. Cute Daisies Nail Art
Delicate Daisy nail art looks subtle and classy. It is very easy to create at home. For more delicate designs, coffin nail art provides the ideal canvas for detailed florals.

20 Cute Boat Neck Blouse Designs and Ideas to Wear

20 Mustard Yellow Dress Outfit Ideas Trending This Year
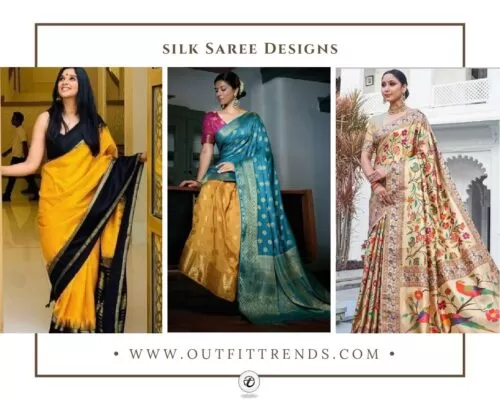
21 Best Silk Saree Designs and Ideas How to Wear
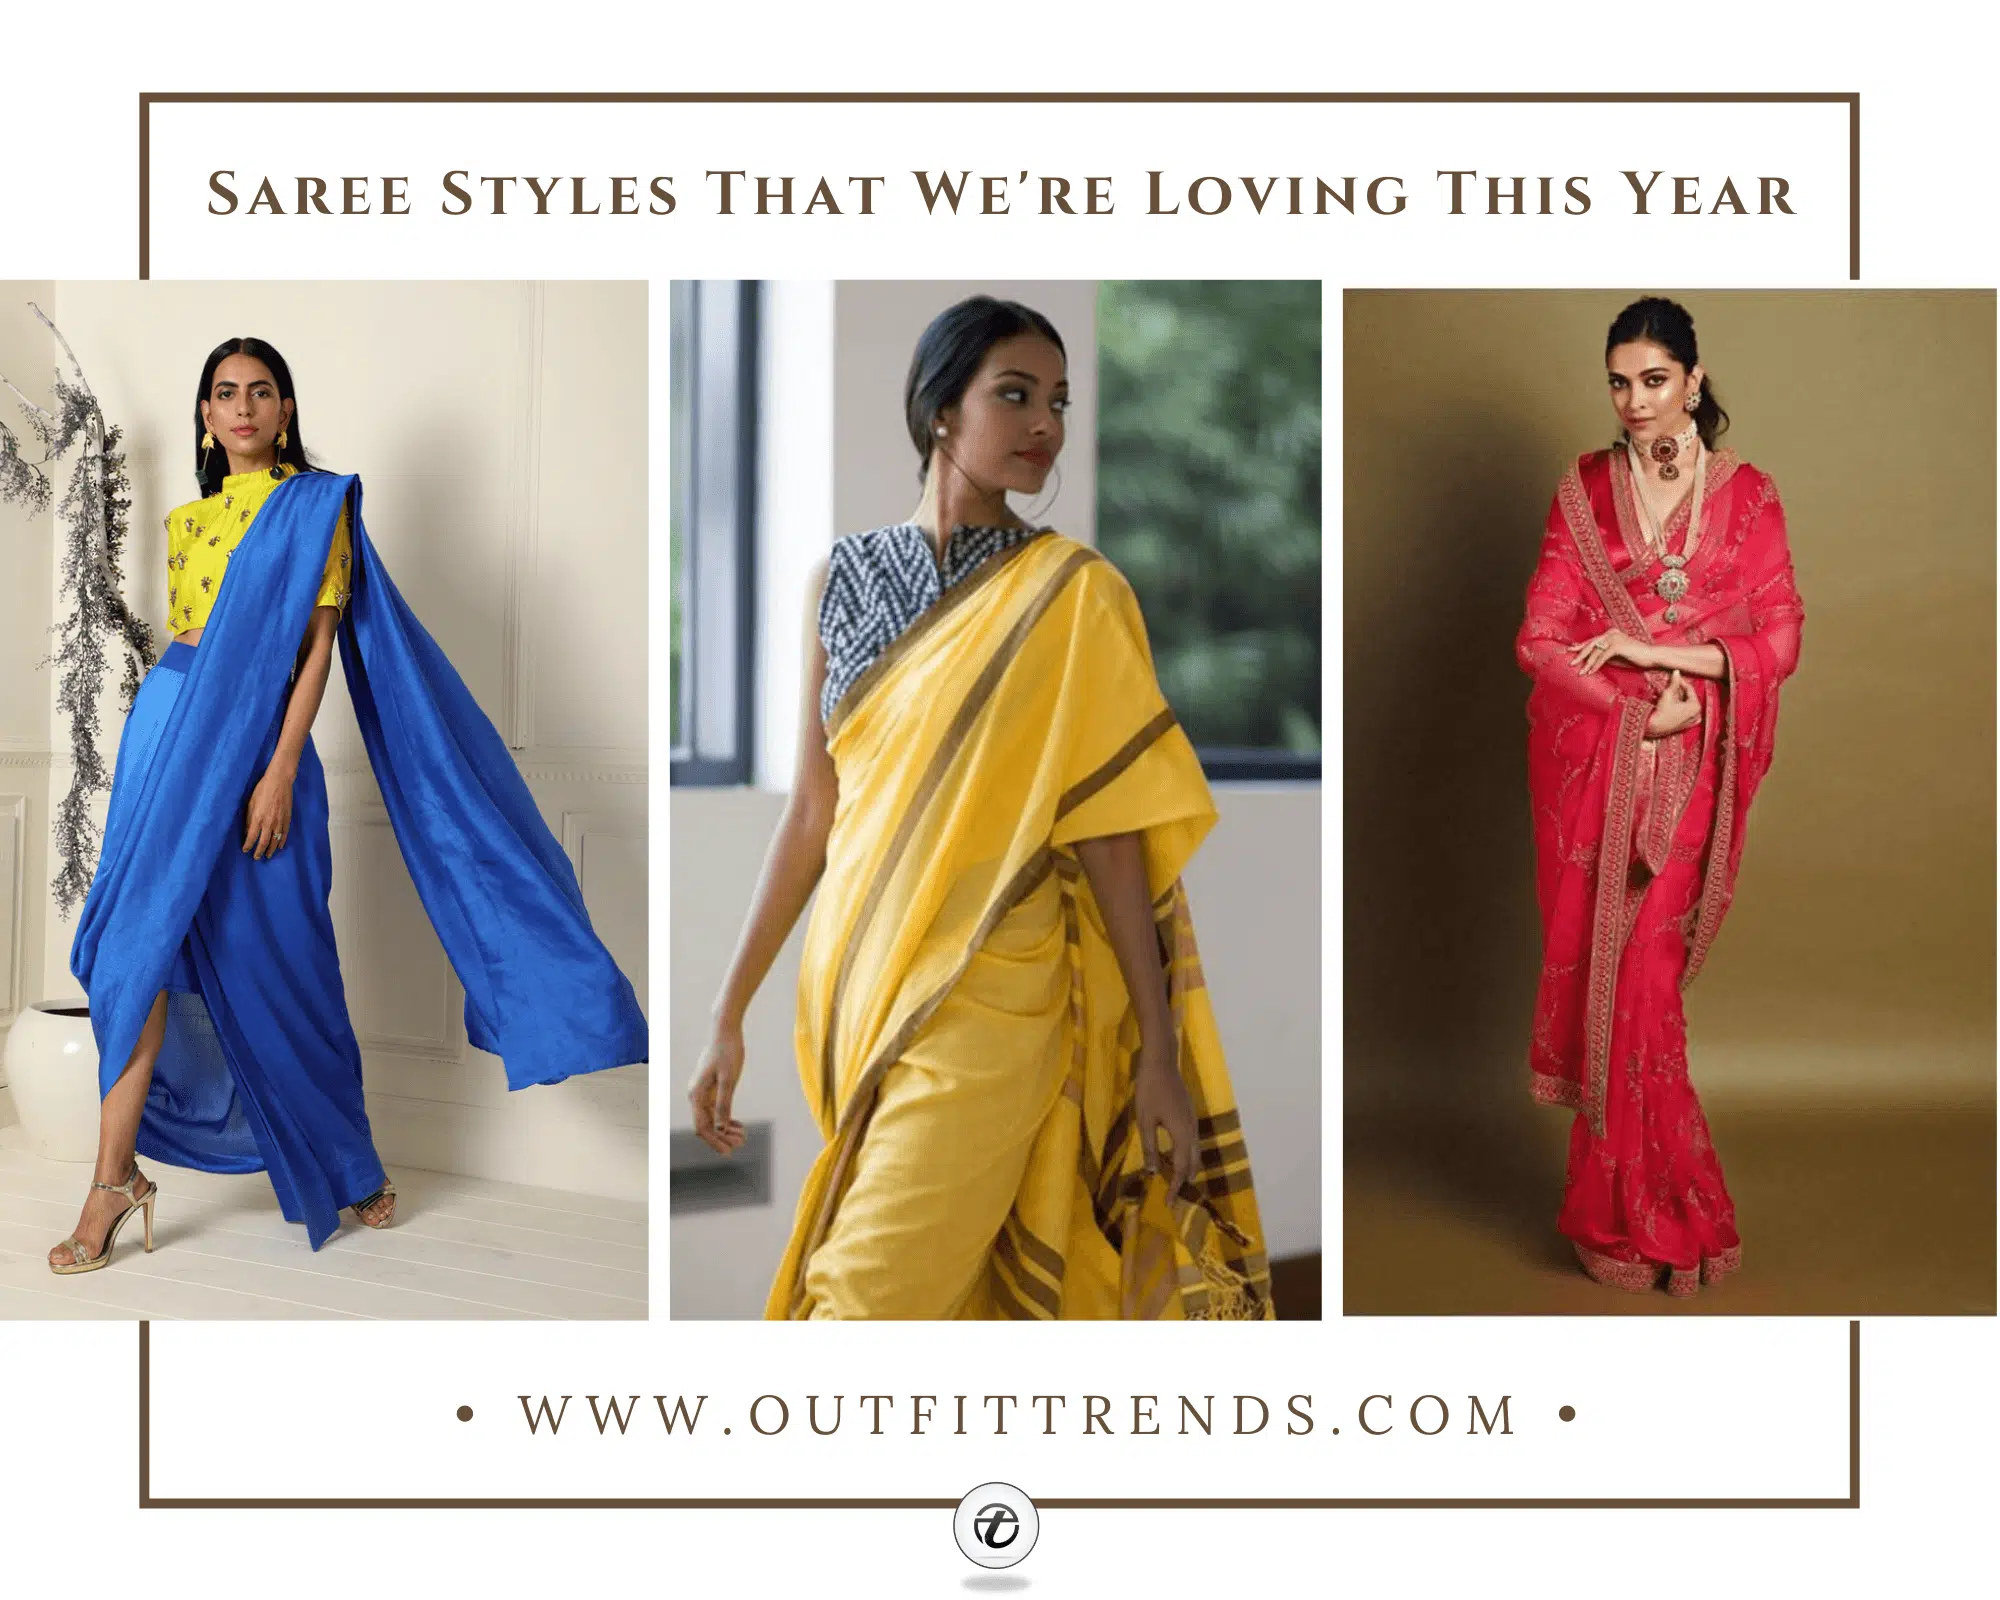
22 Elegant Saree Designs and Draping Ideas
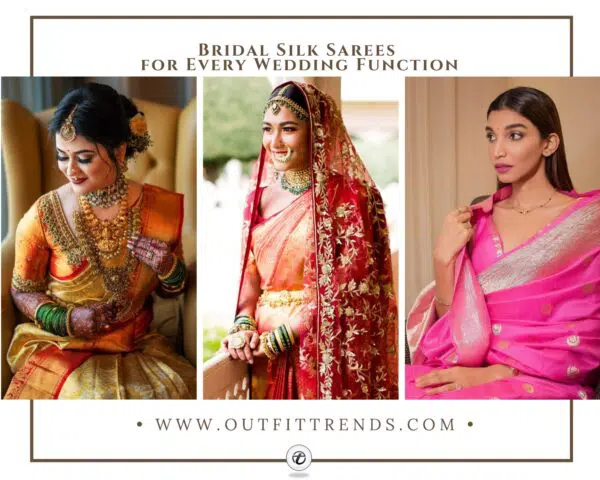
14 Latest Bridal Silk Saree Designs and Styling Tips
20 Modern Anarkali Kurti Designs & Styling Tips

2026 Outfit Trends for Women-20 Fashion Tips
22 Modern Chikankari Kurti Designs & Styling Tips
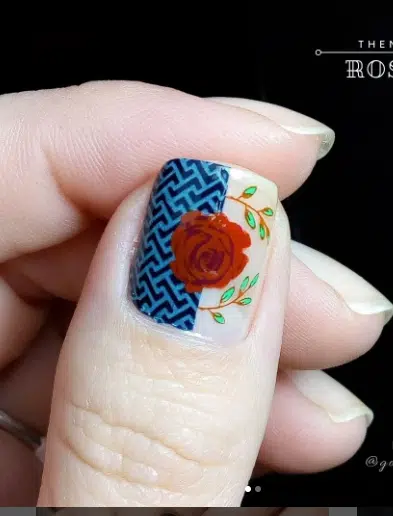
8. Fall Flower Fantasia
Dark red flowers against a dark sky-blue background — best for both fall and spring. For cold-season floral ideas, see our winter nail art guide.
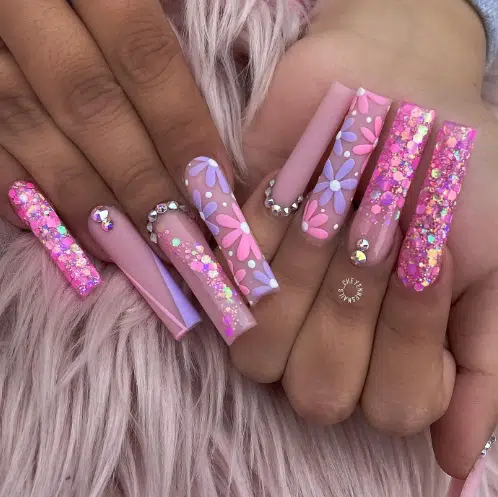
1. Glitter Bouquet
Flower-shaped glitter on your nails for the purpose of nail art — where florals meet funky nail art sparkle.
Key takeaways
- Floral designs work best with a neutral base — white, nude, or pale pink
- For seasonal florals, see summer nail art
- Combine florals with ombre technique for a romantic gradient bouquet effect
- For more nail colour inspiration, explore pink nail designs
20 Cute Boat Neck Blouse Designs and Ideas to Wear
20 Mustard Yellow Dress Outfit Ideas Trending This Year
21 Best Silk Saree Designs and Ideas How to Wear
22 Elegant Saree Designs and Draping Ideas
14 Latest Bridal Silk Saree Designs and Styling Tips
20 Modern Anarkali Kurti Designs & Styling Tips
2026 Outfit Trends for Women-20 Fashion Tips
22 Modern Chikankari Kurti Designs & Styling Tips


