

Styling Tips for Round Mehndi Designs
• Use circular guides first — Place a small bottle cap or floating candle on your palm to trace perfect circles before applying henna. This creates the foundation for symmetrical designs. • Start from the center outward — Begin with your main circle in the palm’s center, then add surrounding elements. This ensures proper proportions and prevents cramped designs. • Fill gaps with dots and lines — Small dots between circular elements create visual flow, while straight lines add structure to prevent the design from looking scattered. • Match circle sizes to hand proportions — Larger hands can handle bigger central circles, while smaller hands look better with delicate, layered smaller circles. • Layer different circle sizes — Combine large focal circles with medium accent circles and tiny decorative dots for depth and visual interest. • Consider your outfit’s neckline — If wearing sleeveless or off-shoulder styles, extend round patterns onto your wrist and forearm for cohesive styling. • Plan for your dominant hand — Apply simpler circular patterns to your dominant hand since you’ll be doing this yourself — save complex designs for professional application.Dos & Don’ts
Latest Round Mehndi Styles
Can’t make the perfectly round circles for your mehndi? Here’s a tip, try using a small floating candle or a bottle cap to make the round design. Another tip is to first draw the outline with a pen and then cover it with your mehndi.
40 – Minimalistic Round Mehndi Designs
Simple and minimalistic designs have become popular everywhere – be it in makeup, outfits and even mehndi designs. You can follow Dr. Azra as she’s the pioneer and trendsetter of such mehndi designs.
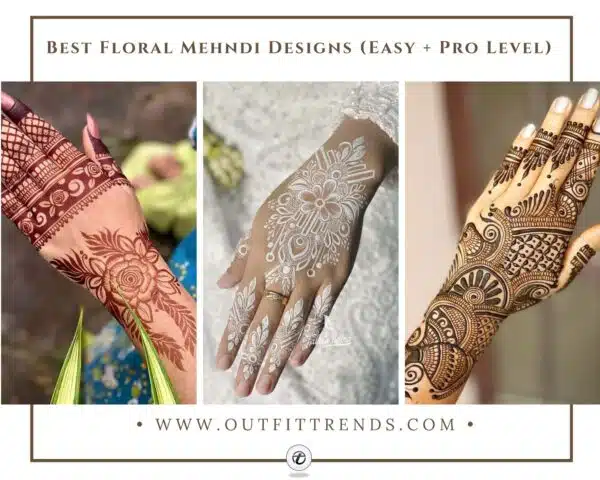
Best Floral Mehndi Designs with Step by Step Video Tutorial
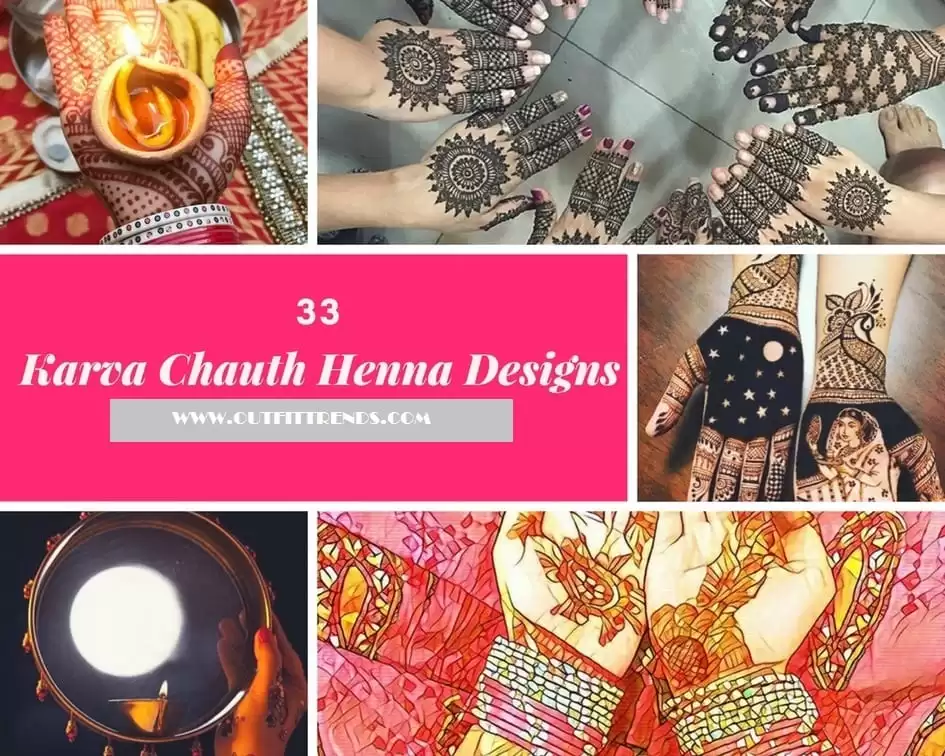
33 Best Karva Chauth Mehndi Designs with Video Tutorial
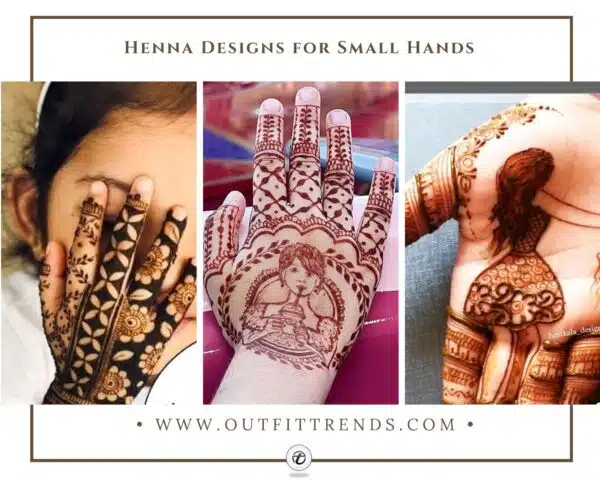
25+ Short Mehndi Designs for Small Hands (Kids and Adults)
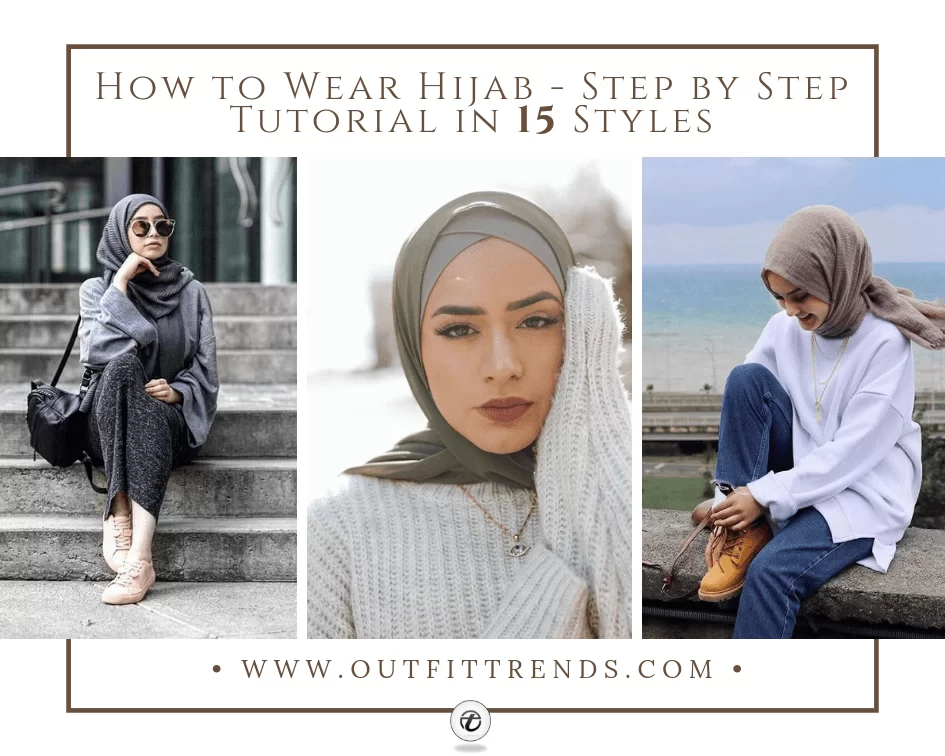
How to Wear a Hijab? Step by Step Tutorials and 35 Styles
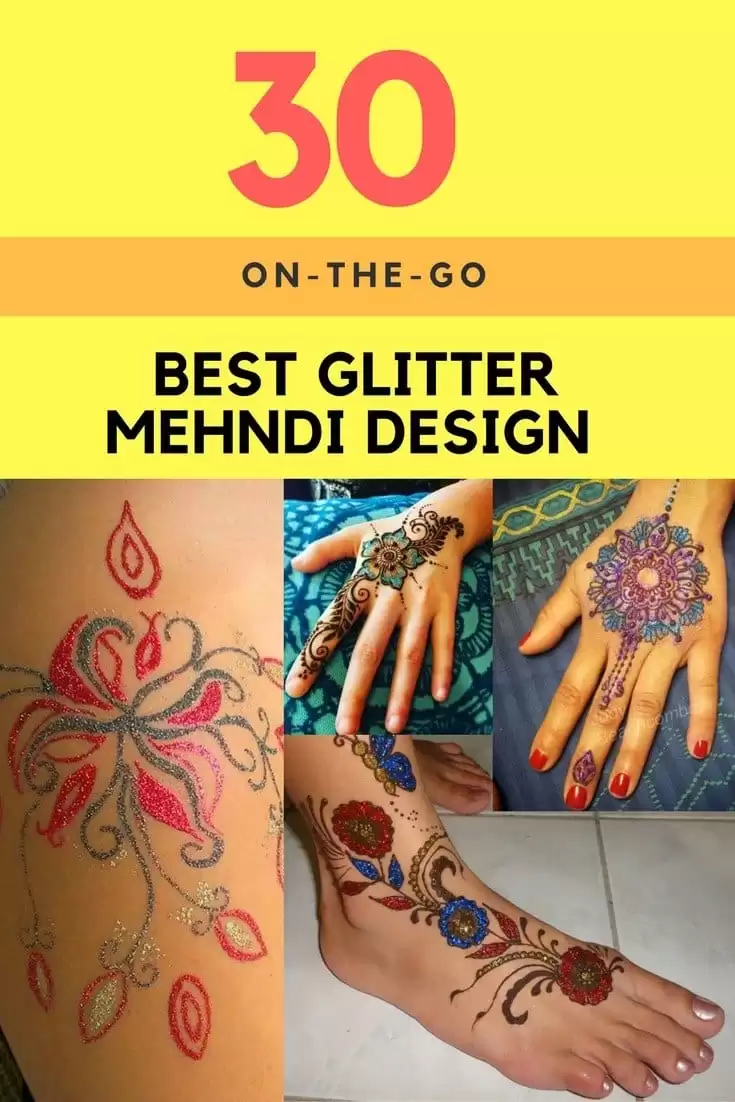
30 Best Glitter Mehndi Designs You will Love

Step-by-Step DIY Ear Warmer Headband Trick With Tutorial
40 Best Indian Mehndi Designs For Hands This Season
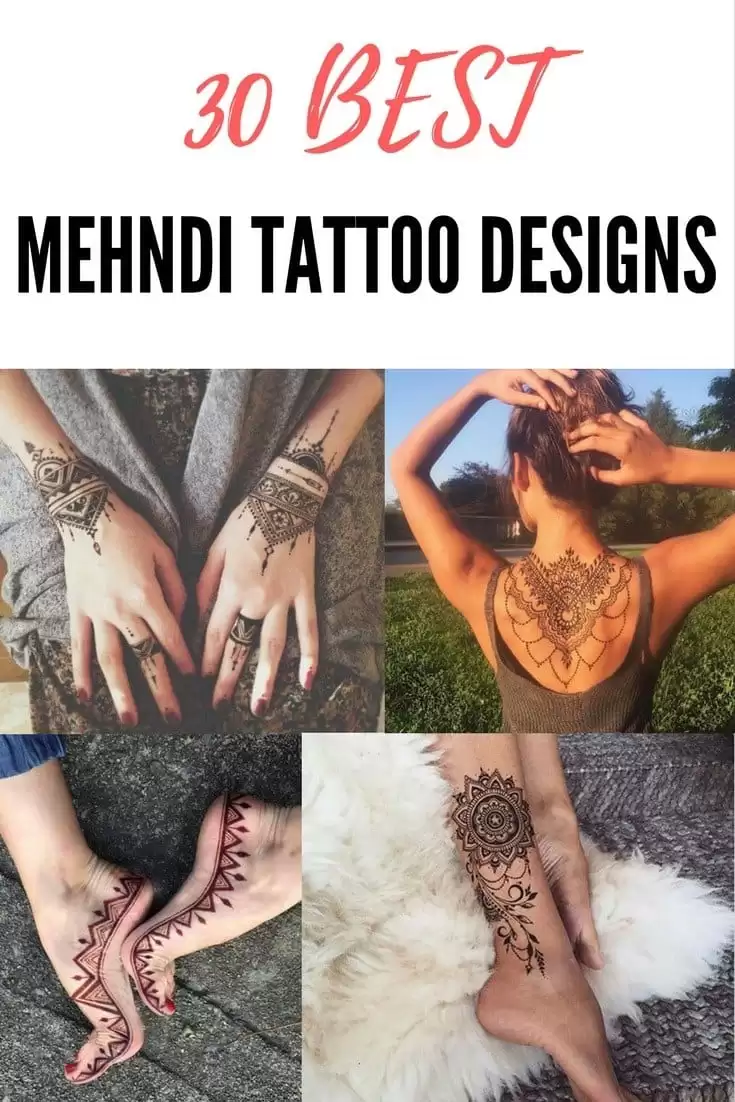
30 Most Popular Mehndi Tattoo Designs to Try This Year

Use your non-dominant hand as a guide — Rest it flat while drawing circles with your dominant hand for steadier, more controlled movements.

39 – Diamonds on Foot and Hand – Round Mehndi Designs
The design in the photo below is elaborated with the multi-colored diamonds that not only add more beauty to the mehndi design but also add more beauty to one’s hands and feet. Anyone who wants to have a traditional look can go for this round mehndi design with diamonds
Traditional henna artists in India and Pakistan often use mathematical ratios to create perfect circles — the golden ratio of 1:1.618 appears in many classic mandala-style mehndi patterns, which is why they look so naturally balanced to the eye.

38 – Step By Step Guide – Round Mehndi Designs For Palm
The photo below will act as a guide for beginners and young girls who want to have a perfectly stylish round mehndi design.

37 – Round Bridal Mehndi
The design in the photo below is of the backside of the hands and it’s the perfect design for brides who don’t want extravagant designs all over their hands and feet.

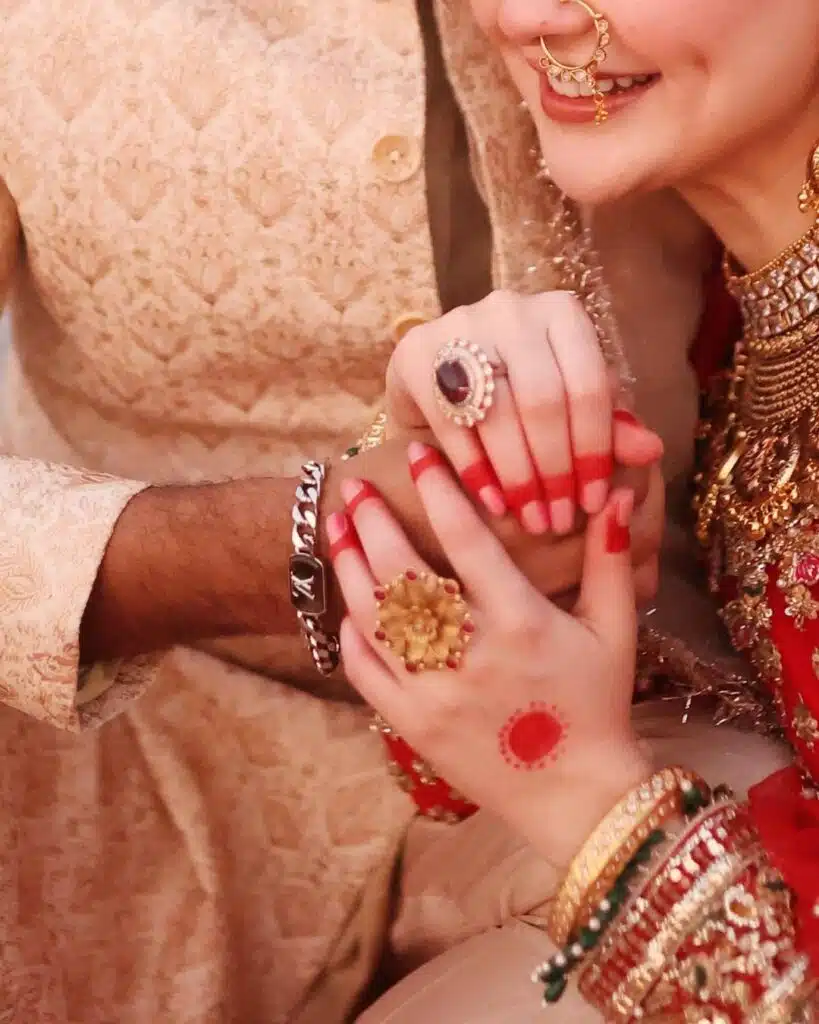
Want something even simpler? Go for a simple round mehndi thappa, surrounded by small dots and cover the edges of your fingers with mehndi. If you’re fond of wearing big rings, this design will help you show them off.
Test your cone pressure first — Practice squeeze pressure on a tissue before starting your design to avoid thick, uneven lines that ruin circular symmetry.
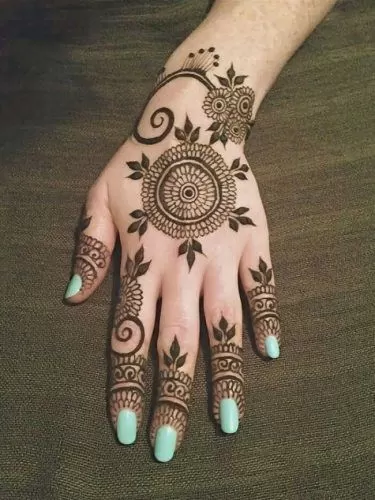
36 – Big Spiral Plus Circles With Blue Nailpaint
35 – Leafy Style

34 – All White
It’s never a compulsion that full hands should be covered in mehndi designs. As in the photo below, only some part of the hand’s backside is covered with brown mehndi. It makes the whole attire not only elegant but also graceful.

33 – Classic Blent With Blue Toes
The design in the photo is a modern form of traditional round mehndi design as an Arabic touch is given to it by filling up the gaps with mehndi.
Classical touch in this design is coming from the dotted diamond pattern. Girls who are looking for a modern but classic traditional round mehndi design can opt for this design.
Rotate your hand, not the cone — Keep your henna cone stationary while slowly rotating your hand for smoother, more controlled circular motions.

32 – Spiral With Petals

31 – Hallow Cinnamon Brown Circle

30 – Round Round Round

29 – Circles and Semi Circles

28 – Delicate Flower
This round mehndi design not only covers half fingers but also a thin portion of the wrist, therefore, whoever opts for this design – one thing that will surely be done is that there will be no need of wearing a bracelet and rings.
This design is not an easy one, to perfect this design one needs to practice on some mirrors or on hands.

27 – White Bracelet
Start with lighter pressure — You can always go over thin lines to make them darker, but you can’t make thick, uneven circles thinner once applied.

26 – Sun Flower Style on Thigh
This photo below will make one realize that mehndi is not manufactured only for hands and legs it can be applied to different parts of the body. As in the photo, a tattoo style round mehndi design is designed on the thigh. Here are some more Popular Mehndi Tattoo Designs to Try.

25 – Stylish Crescent

24 – Silver Jewels with White

23 – Glittery Blue With Diamonds

22 – Edgy White With Middi

21 – Chinese Sign

20 – Circle on Yellow Toe Nails
Plan your design sequence — Apply the largest central circle first, then work outward to smaller elements to maintain proper proportions throughout.

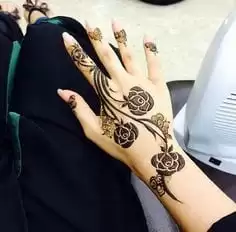
19 – Black Tattoo Style Mehndi
Girls who are not willing to have tattoos can design a black tattoo style round mehndi design on their back and after a week or two, get a new one.

18 – Geometry with Circles

17 – Paisley With Circles

16 – Dotted Net Style Abstract

15 – Petals with Circles on Shoulder Corner

14 – Full Arm And Hand
13 – Basic Leafy Vine
The round leafy mehndi tutorial is for those young girls who cannot properly design a leafy vine. This photo will act as a guide for them, on how to perfectly design a leafy vine beautifully.

12 – Triangular Crescent

11 – Shoulder Design

10 – Modern Round Henna Design
The Round Mehndi design in the photo below only covers the palm, not the fingers. It turns out to be a very stylish look yet its a traditional design but the change in the color of the mehndi to black makes it more modern. The Peace sign in the center is also very eye-catching and of course meaningful.

9 – Red Nail With Diamond

8 – Leafy With Flower

7 – Simple Filled Round
The design in the photo below is the simplest of all. In this design, a simple round shape is designed in the center of the foot and then filled up with mehndi and on the toes, arrow shape lines are drawn.

6 – Center Plus Fingers

5 – Net Style
To create uniqueness in the round mehndi design, net style is added with multiple dots. Yet another stylish round mehndi design

4 – Arm Design for Bride to Be

3 – Leafy Abstract
The delicately leafy abstract designed inside the circles is making the whole design look fabulous. For Nikkah especially, this design can be picked up as most Muslim girls want to keep everything simple on that day and want a heavy filled-up mehndi design for the wedding day.

2 – Sundanese Style
In the round mehndi design in the photo below, more focus is on the hand. In this design, all the geometrical shapes are involved, semi-circles, lines, diamonds, circles, triangles, etc. combining these all brings out a gorgeous design. Girls who are looking for Sundanese round mehndi design, this one would be a perfect pick for them.

1 – Symmetric Semi Circles
Anyone who is interested in covering the entire palm, then this design is perfect as it covers almost the full hand with a good size of symmetric semi-circles with petals and horizontal and vertical lines. Its a great design for youngsters.

Do let us know what you think of our collection and what else you would like to see.

Key takeaways
- Use circular guides like bottle caps for perfect symmetry before applying henna to skin
- Start with the central circle first, then work outward to maintain proper proportions throughout your design
- Practice steady wrist positioning while rotating your hand rather than moving the henna cone for smoother lines
- Allow each layer to dry completely between applications to prevent smudging and maintain clean circular shapes
- Fill gaps between circles with dots and connecting lines to create visual flow and prevent scattered-looking designs
- Match your circle sizes to your hand proportions — larger hands can handle bigger central elements while smaller hands need delicate, layered designs
Best Floral Mehndi Designs with Step by Step Video Tutorial
33 Best Karva Chauth Mehndi Designs with Video Tutorial
25+ Short Mehndi Designs for Small Hands (Kids and Adults)
How to Wear a Hijab? Step by Step Tutorials and 35 Styles
30 Best Glitter Mehndi Designs You will Love
Step-by-Step DIY Ear Warmer Headband Trick With Tutorial
40 Best Indian Mehndi Designs For Hands This Season
30 Most Popular Mehndi Tattoo Designs to Try This Year
")

